1. github 가입
GitHub: Let’s build from here
GitHub is where over 94 million developers shape the future of software, together. Contribute to the open source community, manage your Git repositories, review code like a pro, track bugs and feat...
github.com
2. git 설치
Git
git-scm.com
3. github > Create a new repository

- 왼쪽 상단에 있는 New 버튼으로 새로운 repository 생성
- repository 명 입력
- 비공개를 원한다면 Private로 체크하면 된다.
- Add .gitignore 을 선택하지 않는다면 .gitignore 파일이 생성되지 않는다. (수동 생성해야 한다.)
4. 생성한 repository URL 복사
- .gitignore이 정상 생성되었다.
- Code 클릭 후 URL 복사
5. STS Window > Show View > Git Repositories
- Git Repositories가 보이지 않는다면 Other... 에서 검색
6. Clone a Git repository
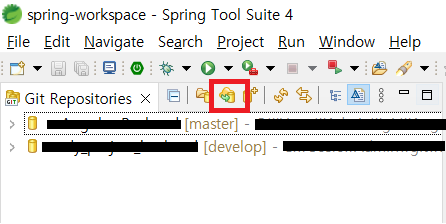
- 처음 등록하시는 분은 목록 부분에 있는 Clone a Git repository 클릭하셔도 무방합니다.
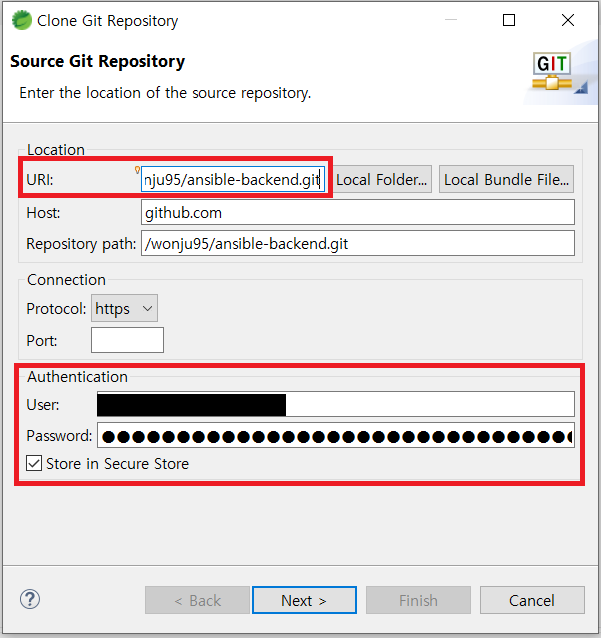
7. URL 및 계정 정보 입력
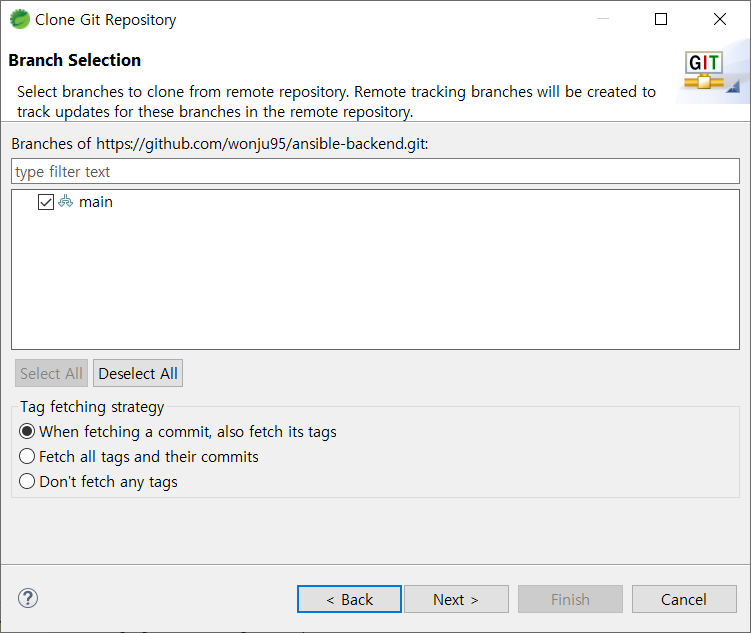
8. Next
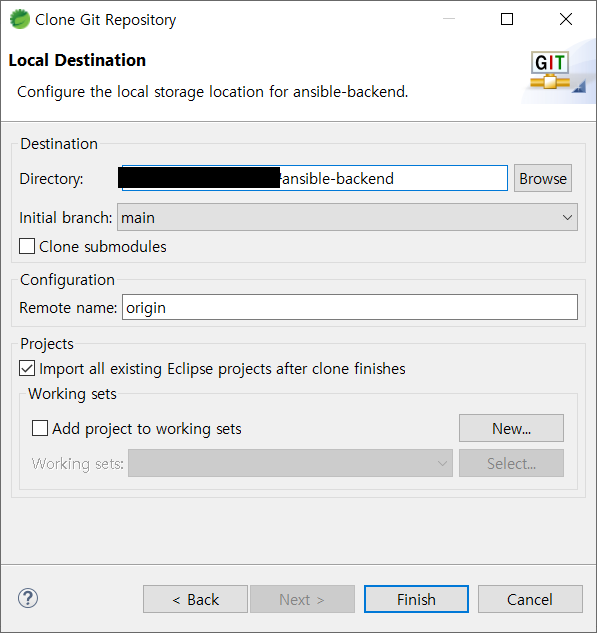
9. 저장할 local 위치 지정 후 Finish
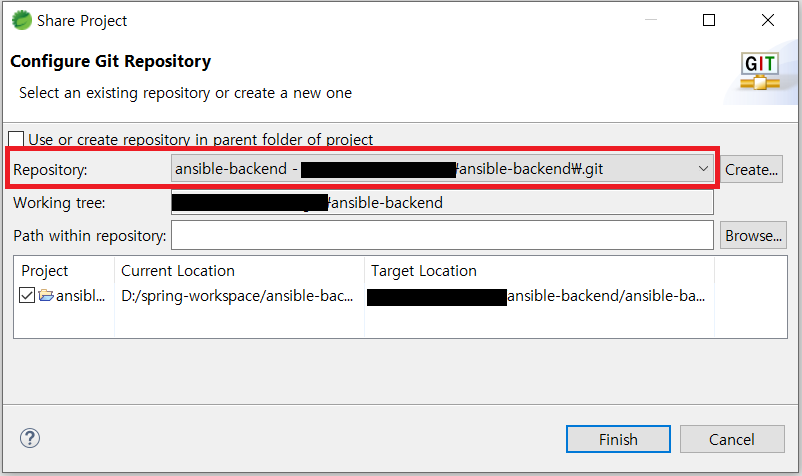
10. workspace 우클릭 > Team > Share Project 로 git 연결
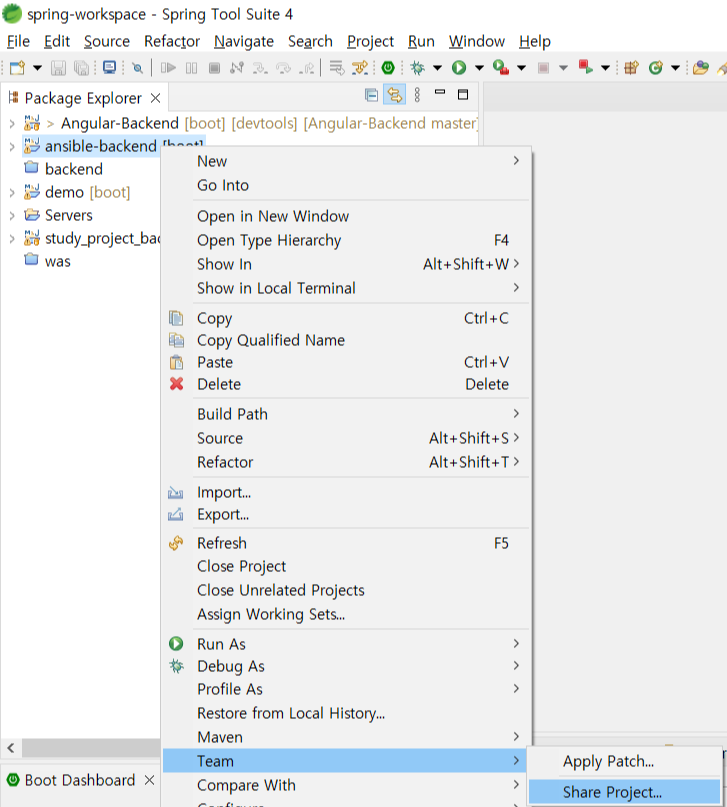
11. 생성한 repository 선택
12. .gitignore 내용 수정 후 workspace 폴더로 이동
# Eclipse/STS
.settings/
.classpath
.project
# Maven
/target/
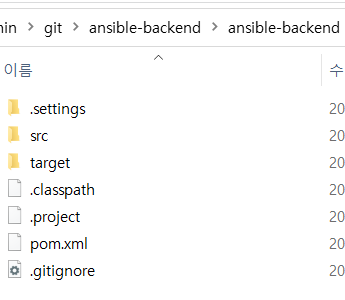
- pom.xml 위치로 이동시킨다.
13. workspace 우클릭 > Team > Synchronize Workspace
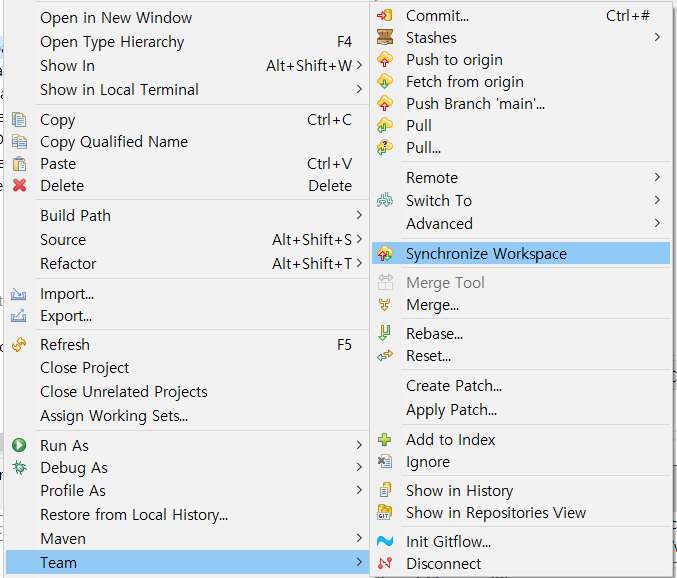
- 소스를 commit하기 전 변경된 소스 확인(항상 commit 하기 전 싱크로 소스를 확인하는 습관을 들여야합니다.)
14. commit 메세지 기재 후 commit & push
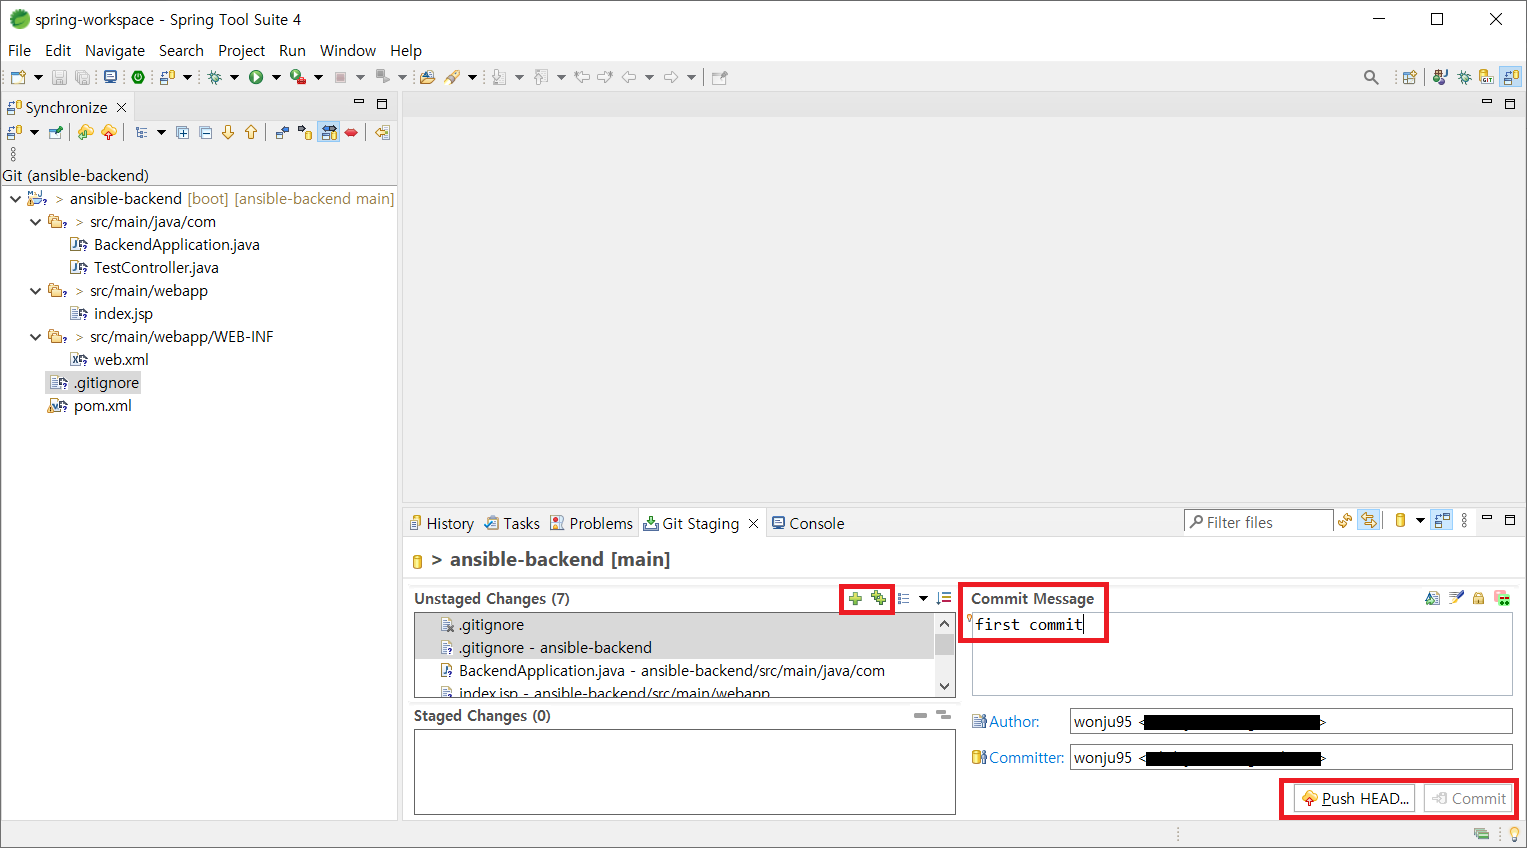
- + 버튼으로 소스들을 Stage에 올린 후 커밋한다.
- 또는 왼쪽 소스 목록에서 다중 선택으로 우클릭 후 commit할 수 있다.
- commit 후 push까지 해야 github에 소스가 올라간다.
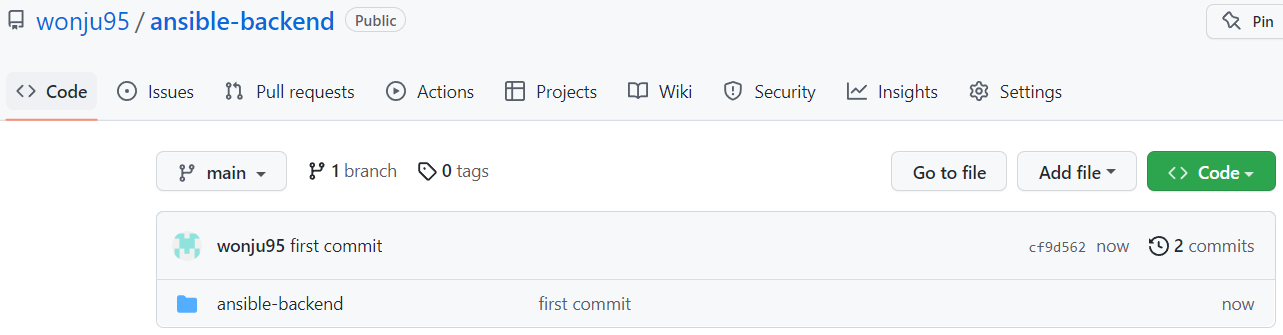
15. github에서 commit 확인
'Git' 카테고리의 다른 글
| GitLab project/repository STS에 가져오기 (0) | 2022.12.08 |
|---|---|
| VSCode GitLab project/repository clone (0) | 2022.12.08 |
| git commit 이름 확인 및 변경하기 (0) | 2022.11.22 |
| Visual Studio Code에서 github 소스 가져오기 (0) | 2022.11.21 |
| Visual Studio Code에 github 연동 (0) | 2022.11.19 |


